digital throughout
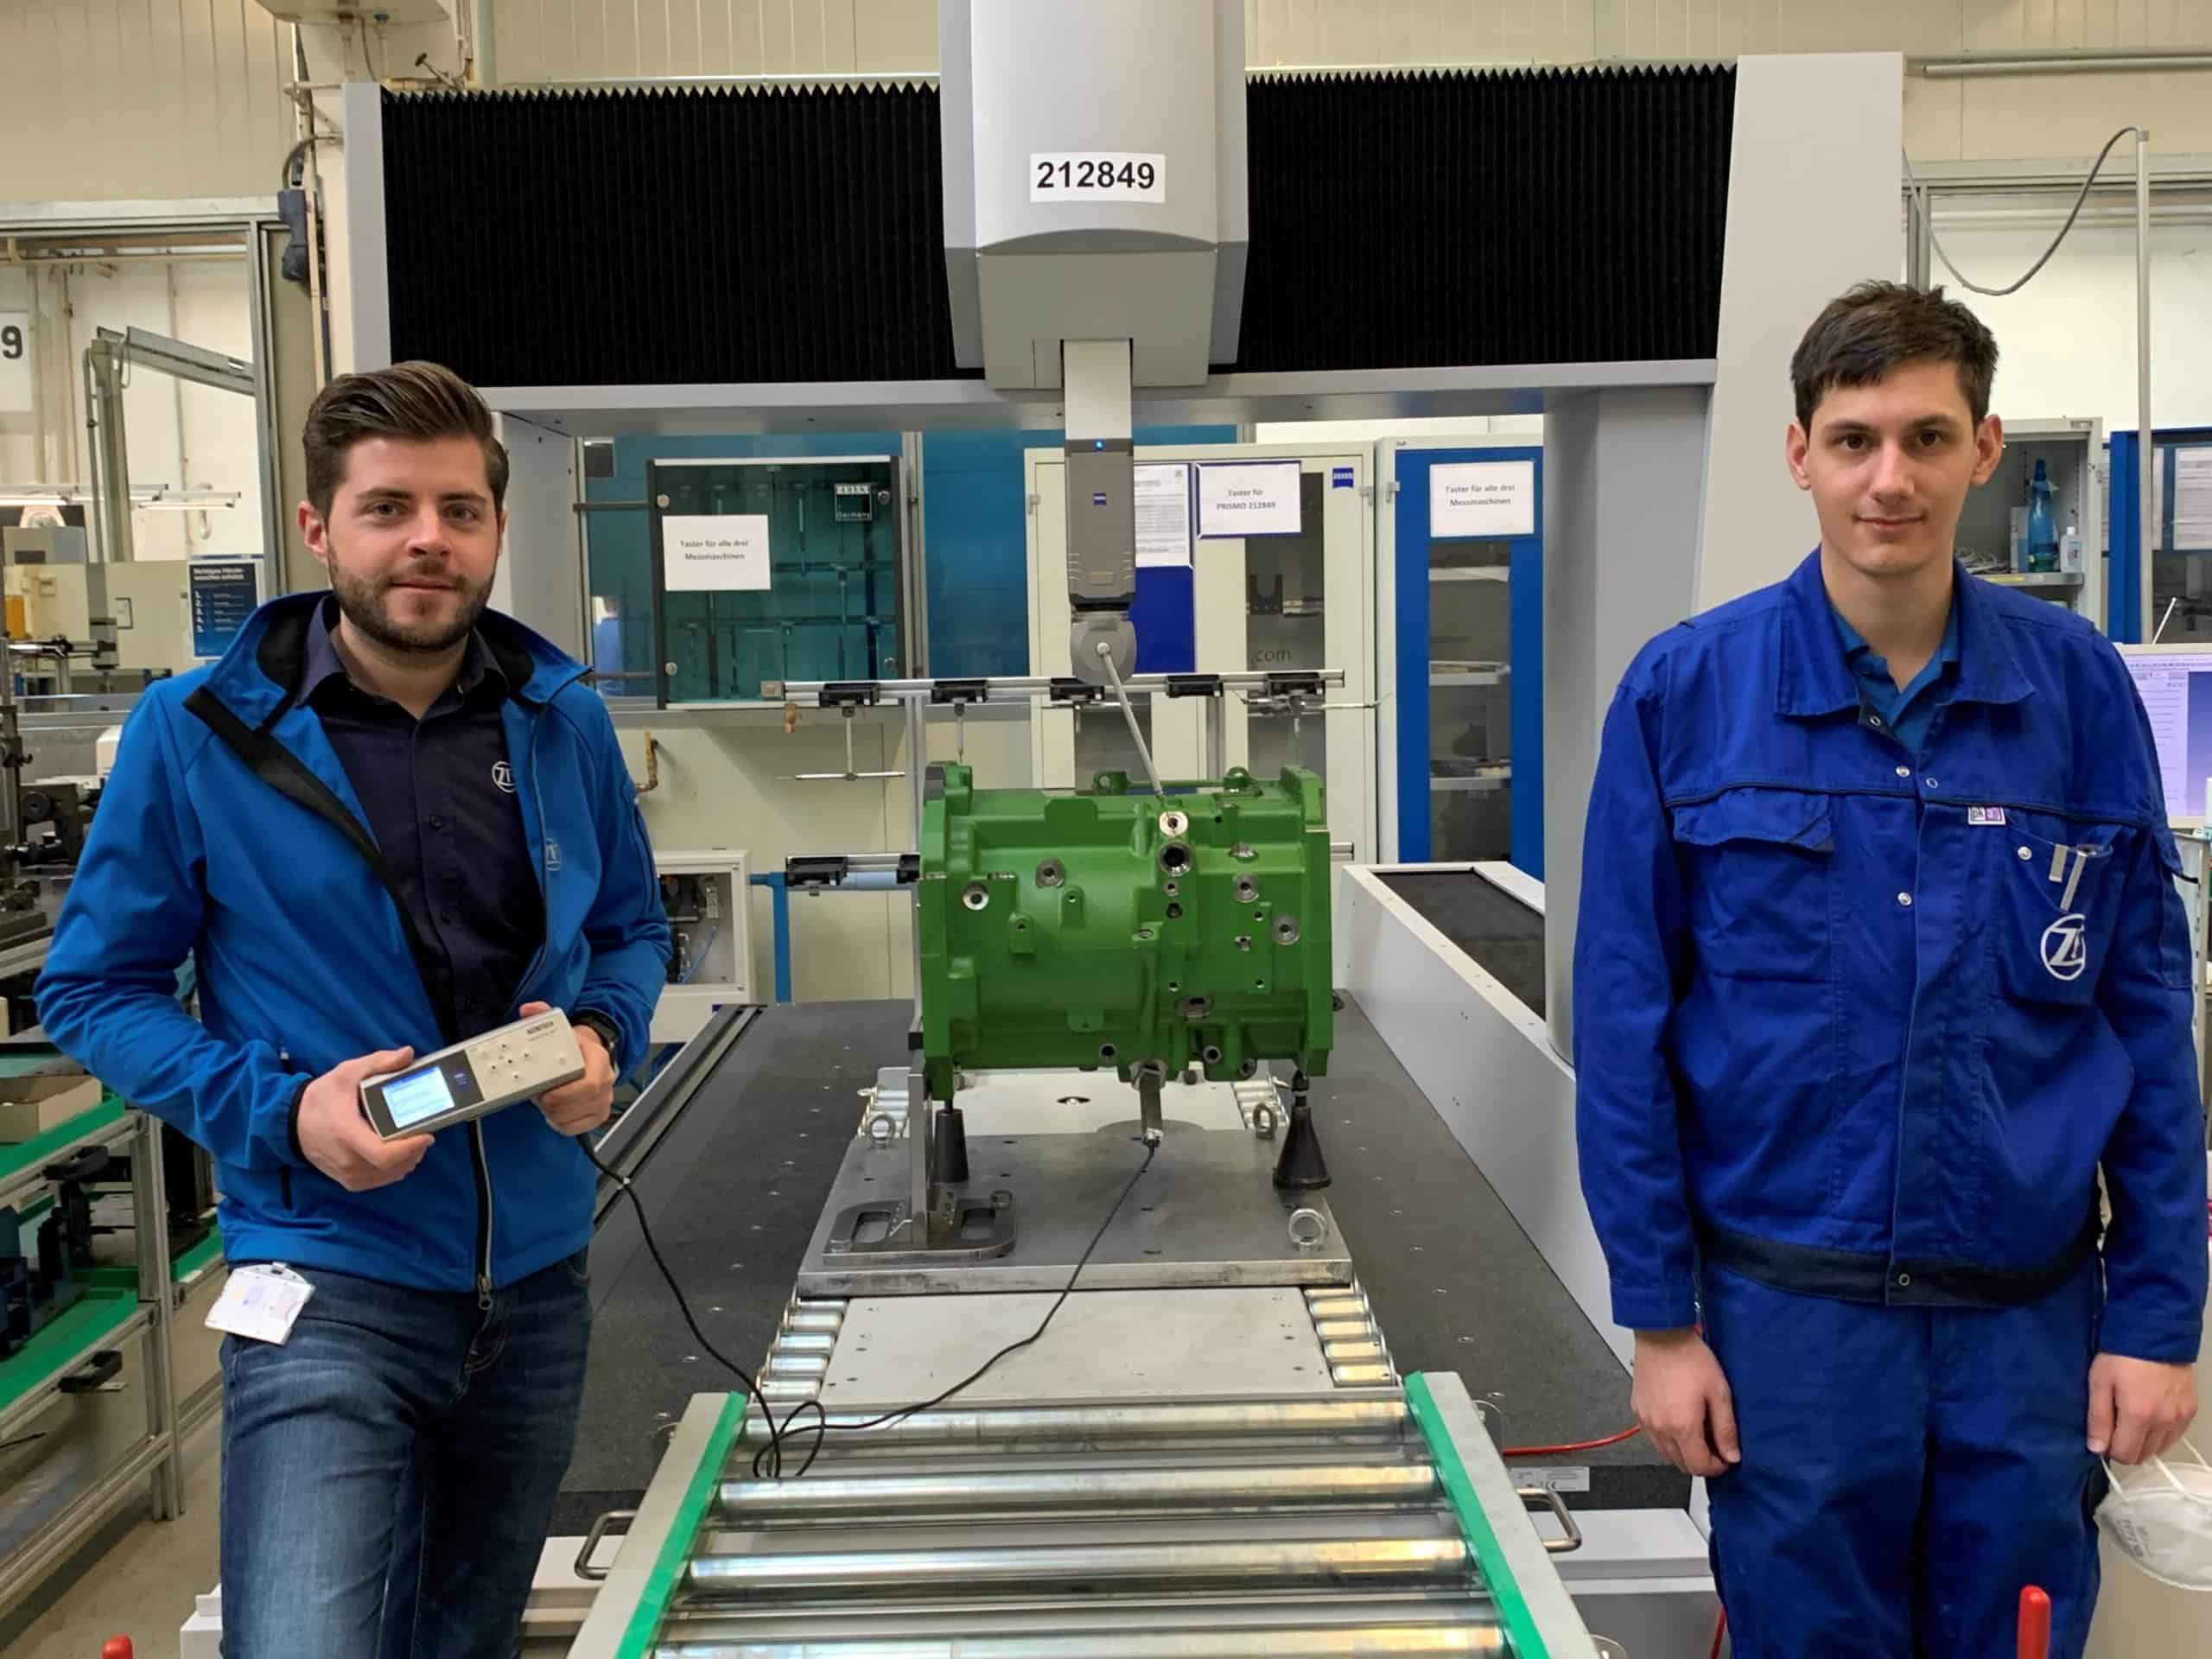
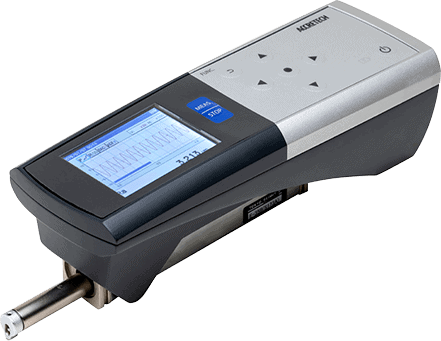
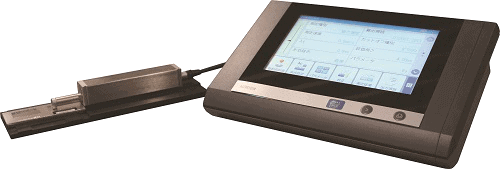
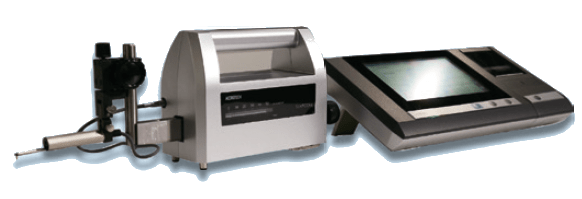
At its Steyr site, ZF uses mobile surface measuring instruments from ACCRETECH’s HANDYSURF+ series for first part approval in metrology – Data is logged in the ZEISS Calypso metrology software together with dimensional measurement data of the components taken from ZEISS coordinate measuring machines. This End-to-end digital solution ensures convenient data management, traceability and process stability at ZF.
ZF’s Steyr site is part of the Industrial Technology Division and, with around 560 employees, primarily produces components for agricultural machinery, construction machinery, forklift transmissions, and automotive components. Gearbox housings, gear wheels and shafts are machined on modern machine tools with stringent requirements in terms of dimensional accuracy and surface roughness.
“We have a very high number of different parts. And almost every one of these components has its own specific surface quality requirements,” emphasises Michael Nief, Team Manager Quality at ZF in Steyr. In this regard, it’s important that the various specifications for the surface of a component must be checked in a flexible manner.
ZF Steyr has seen an increasing trend in surface roughness requirements over the last few years. Here, the tolerances and specifications are becoming tighter, and the demands placed on metrology more complex. In agricultural vehicles – wsimilar to passenger cars – there is an increasing focus on the acoustics. Rough mechanical surfaces on moving components can cause cabin noise, and must be eliminated. This enhances comfort when driving. In addition, the service life of the components can be extended via the surface quality. If the surface roughness of mechanical components is not correct, problems with oil retention or poor lubrication flow could culminate in problems such as premature wear or gearbox failures.
The previous solution: time-consuming and with media discontinuity
In the past, ZF in Steyr used special hand-held surface measuring instruments to test all components for specified surface parameters prior to first part approval – i.e. for the release of production. However, the measurement technicians first had to print out the measurement values and then assign them to the individual measuring points on the components for which dimensional measurements were taken on the coordinate measuring machines. “That was time-consuming and laborious,” Nief recalls. As ZF in Steyr has high quality assurance standards – also with regard to its own processes and procedures – the team was not satisfied with the solution as a long-term solution.
For this reason, the ZF Steyr team was thrilled to learn from ACCRETECH at the Control trade fair that ACCRETECH was collaborating with ZEISS on an interface that can be used to connect the mobile surface measuring instruments of the HANDYSURF+ series with ZEISS coordinate measuring machines or ZEISS Calypso metrology software. This interface is now supplied as standard with every HANDYSURF+.
Soon after the trade fair, ZF had the chance to try out the solution in Steyr. The quality assurance team were impressed by the solution and ZF decided to invest in three HANDYSURF + units. One expert from ACCRETECH and ZEISS respectively were present on site for implementation and training purposes. They used a measuring instrument to demonstrate how the connection works, which meant that the employees on site were able connect the other two HANDYSURF+ units to ZEISS Calypso themselves giving a simple yet effective solution
All three HANDYSURF+ units have been in use in Steyr for a few months now in the main measuring room with its three ZEISS coordinate measuring machines. Each surface measuring instrument is used about three to four times a day on average.
“All data is automated and neatly put together in the measurement report””
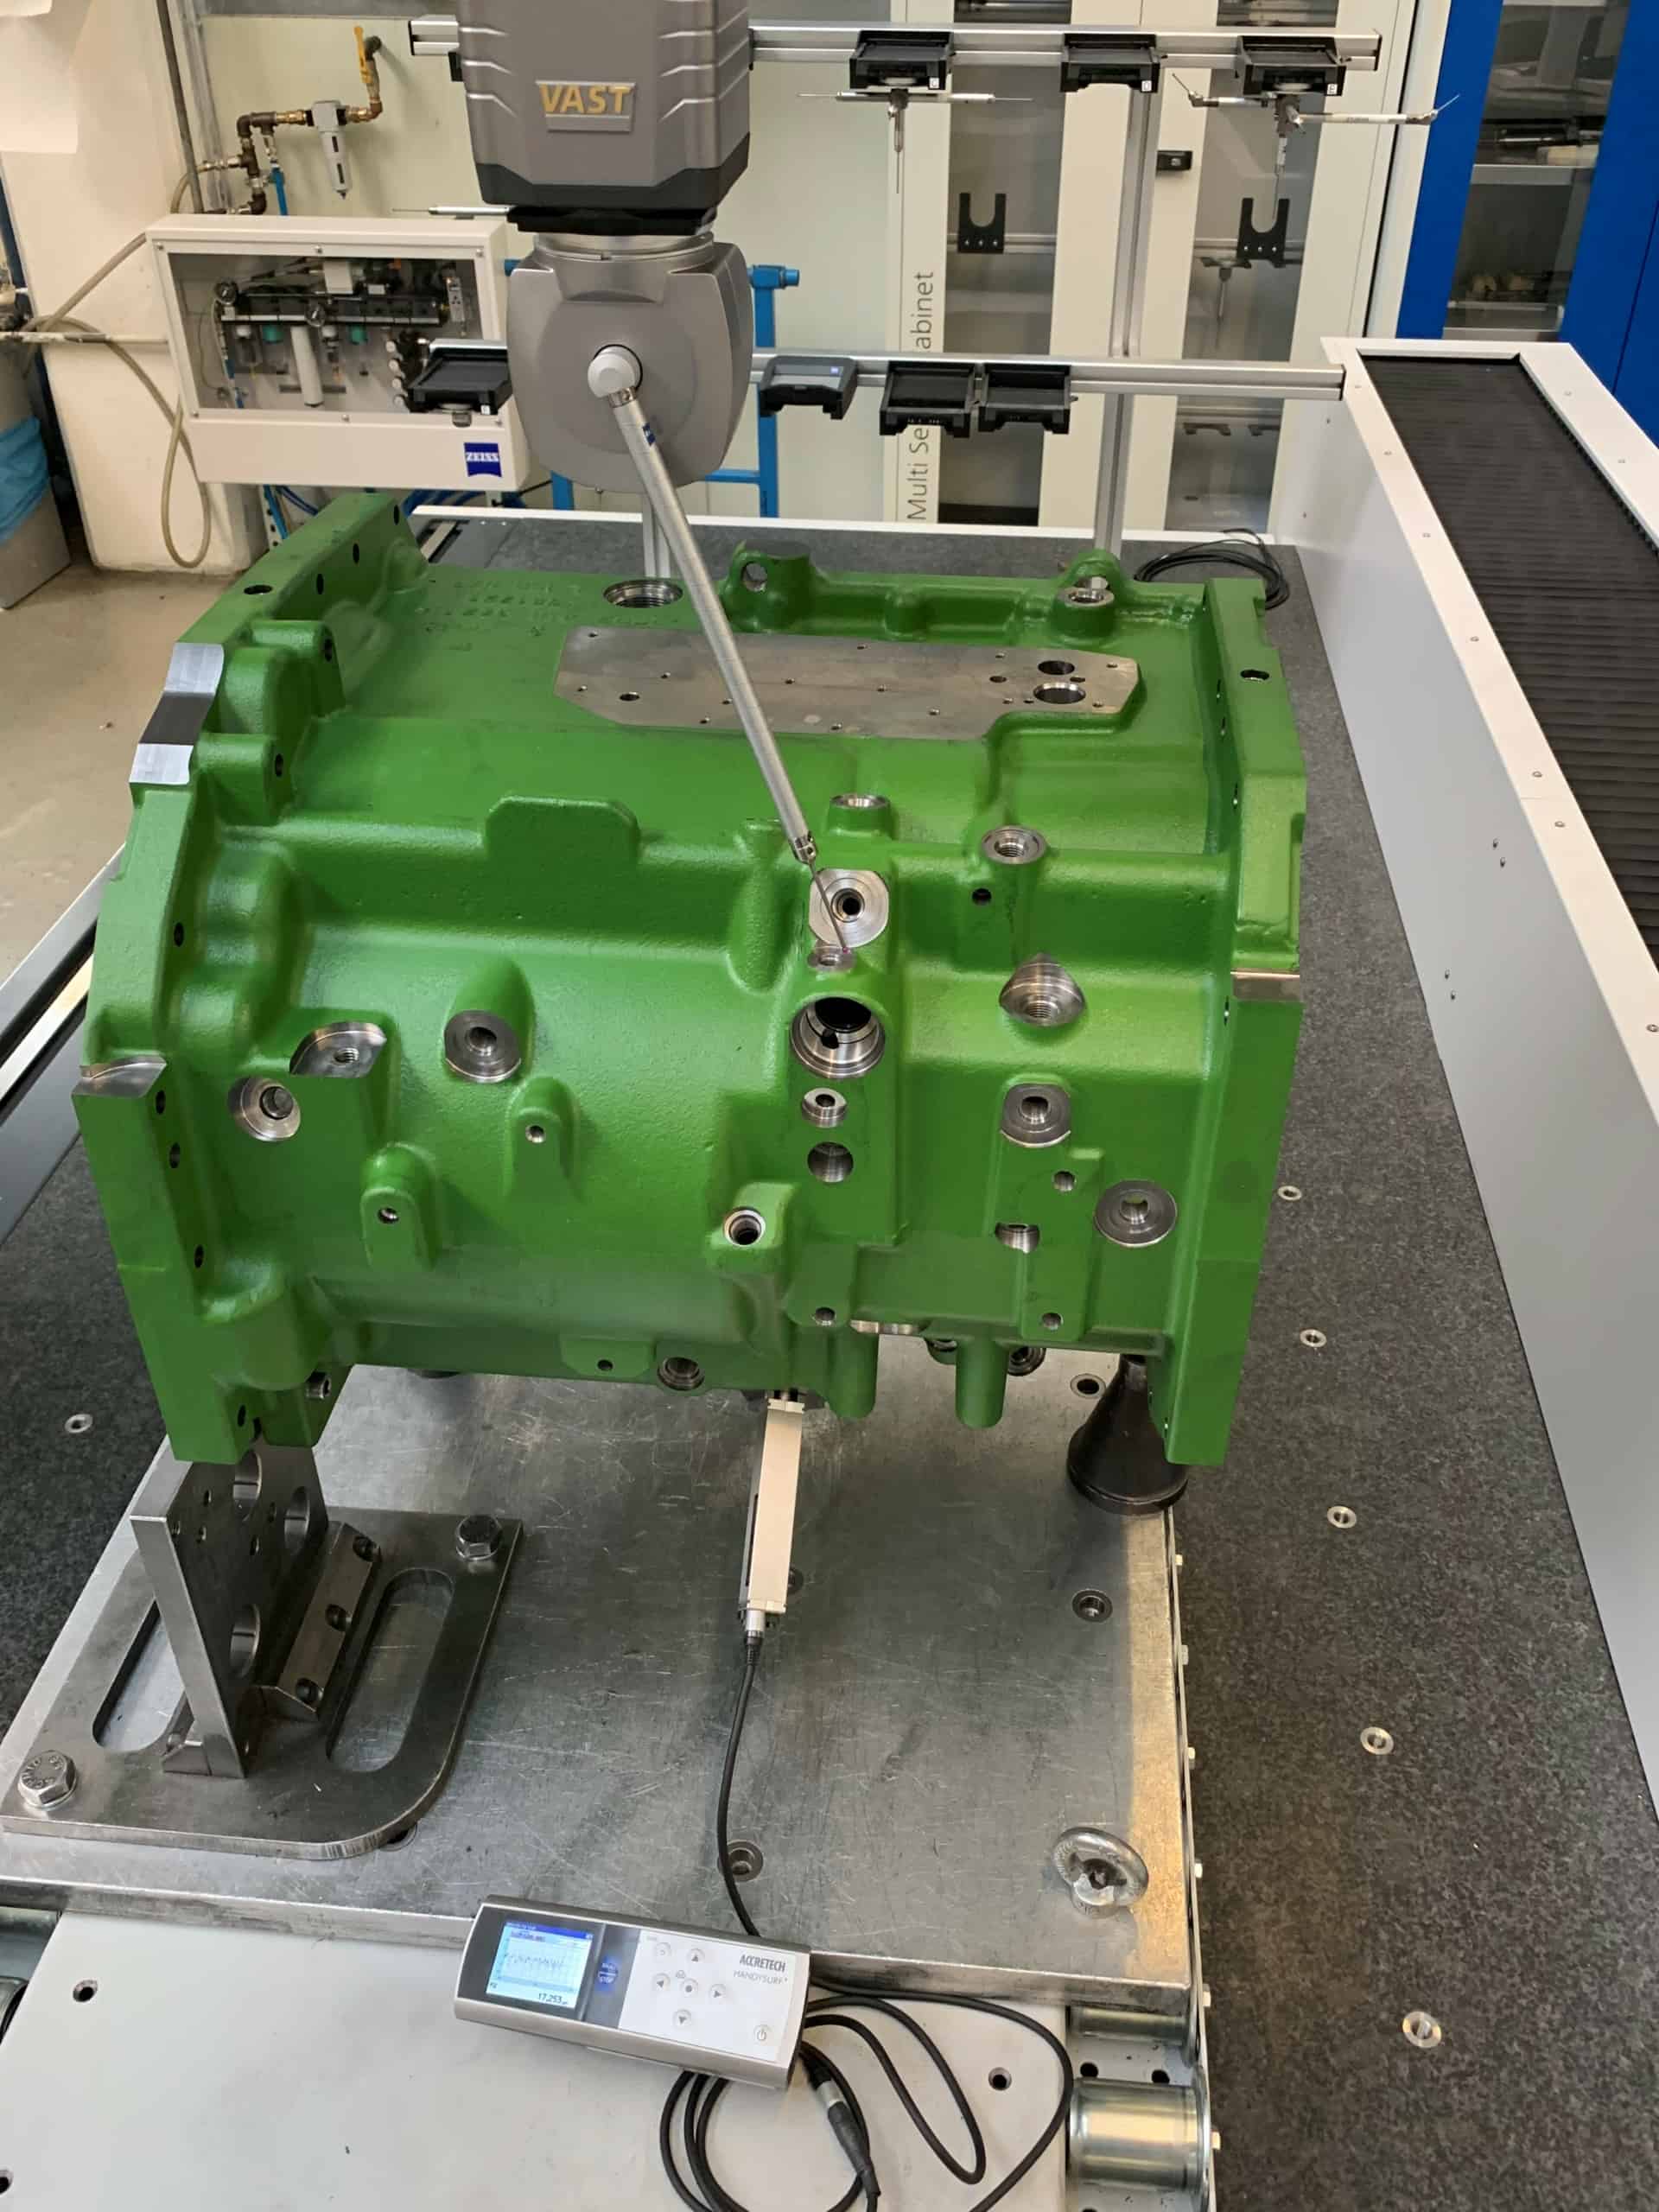
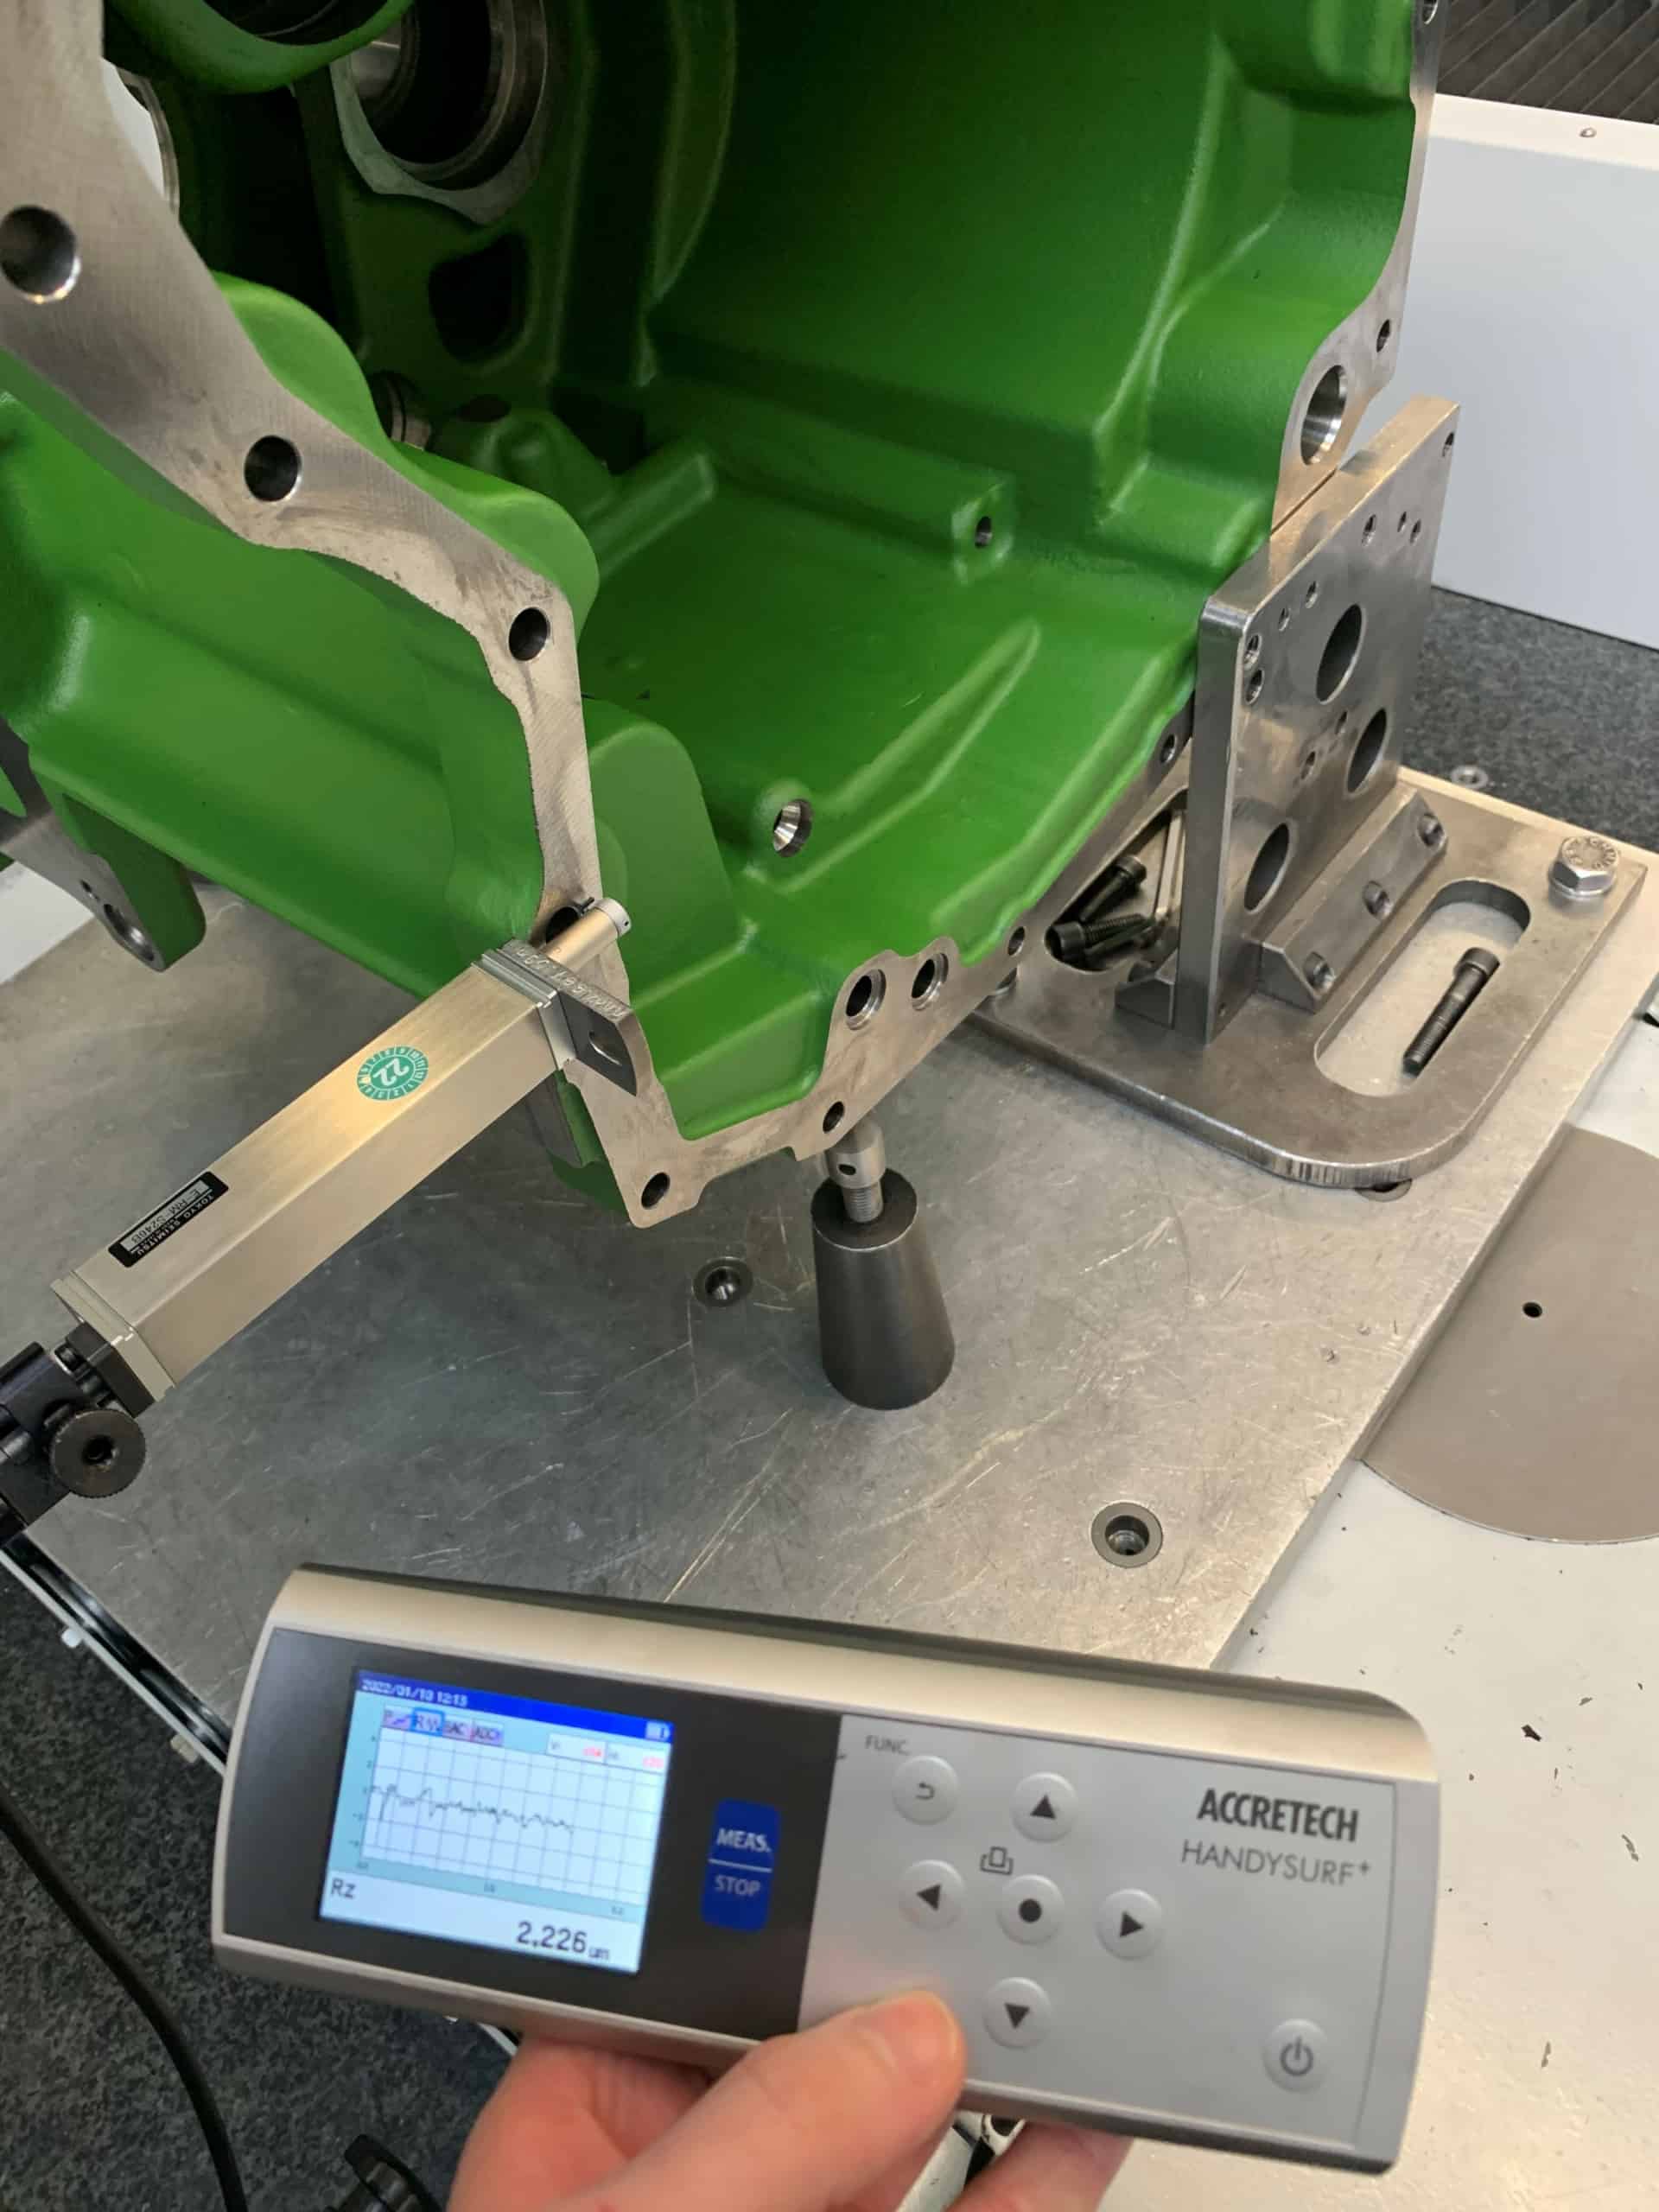
“The big advantage of the HANDYSURF+ measuring instruments for us is that we can combine them seamlessly with ZEISS coordinate measuring machines. Fixed measuring points are assigned to each component. If they are displayed via the coordinate measuring machine, the measurement technician needs to perform the surface measurement with the HANDYSURF+. The measurement values from the HANDYSURF+ then flow immediately into the measurement report of the coordinate measuring machine in ZEISS Calypso”, says Nief. “This means we no longer have a flood of surface measurement values that we have to assign manually. It’s all automated now and neatly put together in the measurement report.” At the same time, the traceability of the surface parameters to the respective component – including the date – is also ensured for the customer. Data management has become much more convenient as a result.
Solution also makes process capability analysis more digital and easier
And the integrated solution offers yet another advantage: The measurement values for surface roughness end up in the qs-STAT statistical software from Q-DAS via ZEISS Calypso, thus allowing ZF to use the values to create a process capability analysis. This means that the measurement values provide information regarding whether the tools are still capable of producing the requisite features within the specified tolerance. “This was also not feasible with the old solution. Process controlling has become much more convenient these days,” emphasises the quality manager.
With each component, ZF now saves just under 2 minutes of time thanks to the integrated solution. With ten components a day, this adds up to 20 minutes – time that the measurement technicians can now put to good use on other tasks.
20 minutes saved per day
ZF in Steyr can also operate very flexibly with the ACCRETECH mobile surface measuring instruments in combination with ZEISS coordinate measuring machines. The HANDYSURF+ enables measurement technicians to universally map 360° of a measurement point. This would not be possible with an optical sensor on the coordinate measuring machine, for example. In such cases, they would need several optical sensors. These in turn occupy several button positions. ZF experts also emphasise that the HANDYSURF+ solution is significantly more cost-effective.
HANDYSURF+ proves to be easy and intuitive to use
ZF is very satisfied with the features of the HANDYSURF+: Thanks to their logical design, the surface measuring instruments are easy and intuitive to use and provide very precise results. At ZF, the tolerance range is between 4 and 25 µm, depending on the component.
ZF can also rely on the service provided by ACCRETECH and ZEISS at the Steyr site: After the company had recently installed an update of ZEISS Calypso, the transfer of measurement values from the HANDYSURF+ instruments to the metrology software via the interface was no longer working. The experts from ACCRETECH and ZEISS took care of the problem promptly and solved it quickly.
ZF wants to make even greater use of HANDYSURF+ in Steyr in future. The company is currently having accessories such as tripods designed internally for this purpose.
Other divisions within ZF are also interested in the integrated solution
And since the site also supplies components for internal customers in the ZF Group, such customers have also since found out about the solution. “Using HANDYSURF+ mobile surface measuring instruments makes sense in many places within the company, as we use ZEISS coordinate measuring machines both in measuring rooms and on the shop floor,” says Nief.“As a member of the ZEISS key user team in the Group, I report to colleagues in other areas how simple and cost-effective it is to perform roughness measurements and enter them in the measurement report.”
About ACCRETECH
ACCRETECH was founded in Tokyo in 1949 and is now one of the world’s leading providers of products for precision measuring equipment and of the most modern equipment for the semiconductor industry. ACCRETECH has been established on the European market since 1989 and now benefits from a comprehensive sales and service network.
Contact:
ACCRETECH (Europe) GmbH
Jürgen Horst
Director Product Group Metrology
Tel.: +49 89 546788-24
horstj@accretech.eu

